
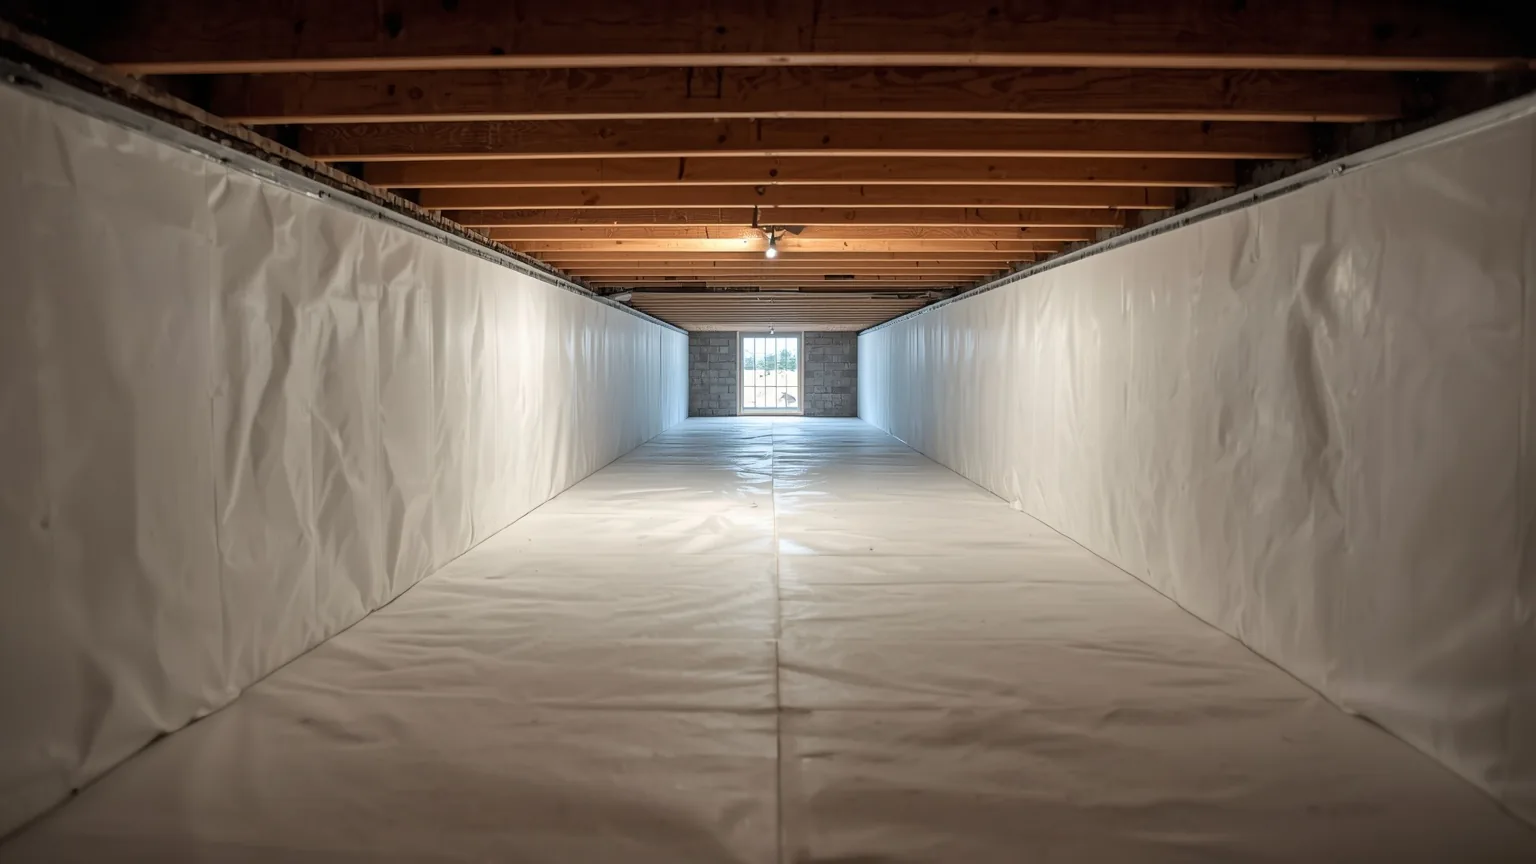
Every company in this trade sells encapsulation, so almost nobody writes the honest version of this page. There are real downsides. Most are manageable, one or two are genuine reasons not to do it yet, and knowing them before you sign is how you avoid paying for the wrong scope.
What are the downsides of crawl space encapsulation?
The real drawbacks are cost relative to a vapor barrier, the ongoing energy and maintenance of a dehumidifier, reduced visibility of leaks under the liner, and the fact that sealing changes how soil gas and combustion air move. Done in the wrong order, it also seals problems in rather than out.
Does encapsulation fix a wet crawl space?
No — and this is the single most expensive misunderstanding in the trade. Encapsulation manages water vapor and humidity. It does not remove liquid water. If water enters through the walls or up through the ground, a liner laid over it seals that water underneath, where it continues doing exactly what it was doing before, now out of sight.
Drainage comes first where liquid water is present. That is why an honest quote on a wet crawl space is two scopes rather than one, and why the cheaper single-scope quote is often the more expensive decision. Our page on crawl space waterproofing covers what that drainage work actually involves.
Is a sealed crawl space more expensive to run?
Yes, modestly. A sealed crawl space needs its humidity actively managed, which means a dehumidifier running through the humid months. That is a real appliance drawing real power, with a condensate line that has to drain somewhere and a filter that needs occasional attention.
The offsetting argument is that a vented crawl space is already costing you something — it pulls humid air into the building envelope, and in a house where ductwork runs below the floor, conditioned air is being lost to a space open to the outdoors. Which side wins depends on the house. Anyone who tells you encapsulation always pays for itself in energy savings is selling, not measuring.
Does encapsulation hide problems you would otherwise see?
It can, and this is a legitimate downside nobody mentions. A liner covering the ground and walls means a plumbing leak, a new water entry point, or a pest intrusion is no longer visible on a casual look — you see the liner, not what is behind it.
The mitigation is not to skip encapsulation but to keep the space inspectable: a humidistat you can actually read, a dehumidifier with a visible fault indicator, and an annual look under the house rather than a decade of assuming it is fine because it was sealed once.
What has to be checked before the vents are sealed?
Two things change when you close a crawl space off from outside air, and both need addressing in the design rather than discovering afterward.
- Fuel-burning appliances. If a furnace or water heater sits in the crawl space, its combustion air supply is affected by sealing the vents. That has to be designed for, not assumed.
- Soil gas. Radon is a soil gas, and sealing changes the pathways by which soil gas enters and leaves the space. Encapsulation does not by itself cause a radon problem, but if you have never tested, this is the sensible moment to — the test is inexpensive and the answer changes what a good installer does with the liner and any sub-liner venting.
When is a vapor barrier the better choice?
A vapor barrier is the right answer more often than the industry admits. It slows moisture rising from the ground and costs materially less. Where the ground is the dominant moisture source, the space is otherwise dry, and the vents are not delivering large humidity loads, a well-installed barrier may be all the situation calls for.
Where it falls short is the mechanism that dominates a Middle Tennessee summer: warm outdoor air entering through open vents and condensing on surfaces below its dew point. A barrier on the ground does nothing about that, because the water is arriving as air. Our vapor barrier page explains the difference in more detail.
| Concern | Vapor barrier | Full encapsulation |
|---|---|---|
| Ground moisture | Addressed | Addressed |
| Humid air through vents | Not addressed | Addressed |
| Liquid water entry | Not addressed | Not addressed — needs drainage first |
| Ongoing humidity control | None | Dehumidifier, powered and maintained |
| Relative cost | Lower | Higher |
| Visibility of new problems | Largely retained | Reduced — inspect deliberately |
Is there a case for doing nothing?
Sometimes, yes. A crawl space that is genuinely dry, with framing at a normal moisture content, no fungal growth, no standing water and no odor reaching the living space, is not a problem waiting to be solved. Sealing it changes an assembly that is working.
The way to know is measurement rather than opinion. Moisture readings in the wood, taken in more than one location, are what separate a crawl space that needs work from one that merely looks unfinished. If nobody measured anything and the recommendation is still encapsulation, you are being sold a product, not given a diagnosis.
What order should the work happen in?
Sequence is where most of the money is won or lost. The order that holds up is: find and fix the water, repair any framing the water damaged, then seal and manage humidity. Reversing any two of those steps means paying twice.
A quote that goes straight to a liner without addressing an identified water source is not a cheaper version of the right job — it is a different job that leaves the original problem running underneath. If structural damage is already present, our page on sagging and bouncy floors covers what that repair involves and why moisture has to be resolved alongside it.